October 6, 2015

Save Money & Treat Your Dogs to Nylabone Natural Healthy Edibles WILD!

http://ctitbytrk.com/?a=1671&oc=2540&c=16426&s1=.

Around these parts, we spoil the kind with four paws... it's just what we do.

http://ctitbytrk.com/?a=1671&oc=2540&c=16426&s1=.

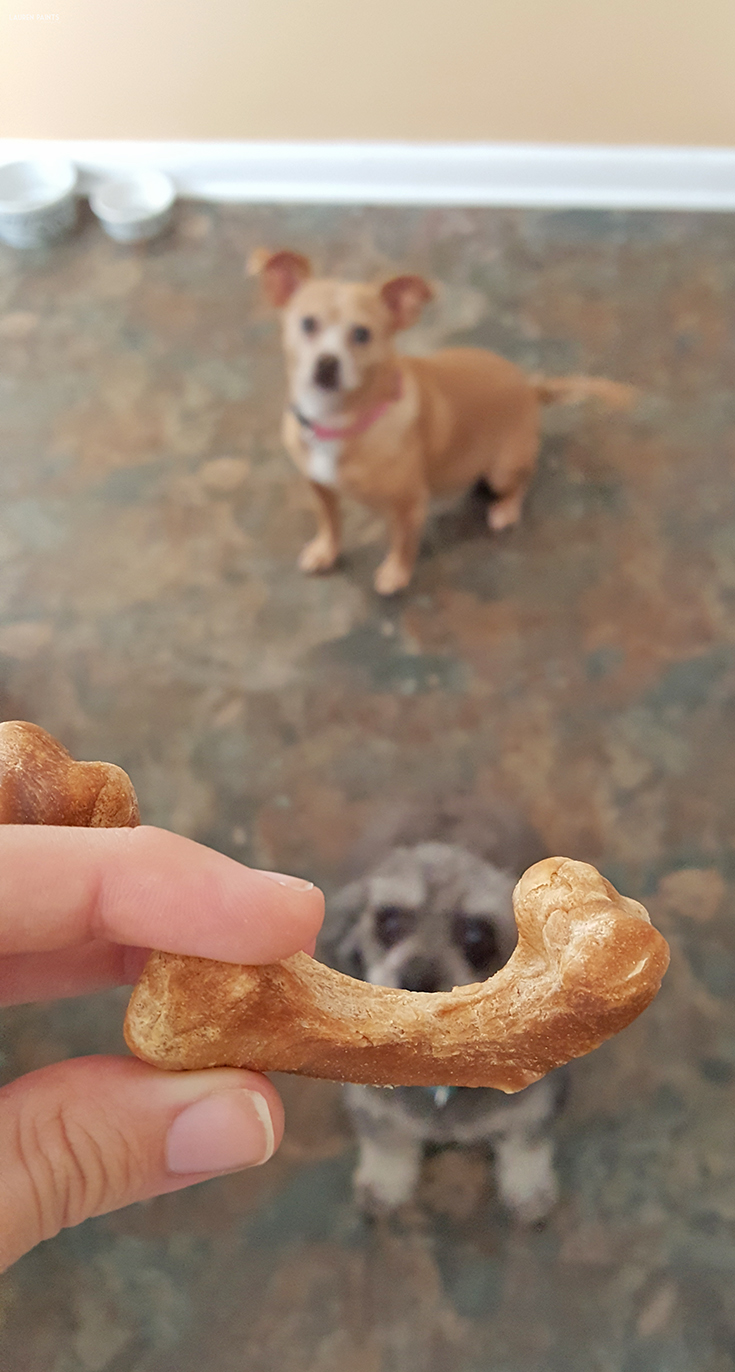
Being able to give my dogs treats they love is something that just makes me happy. Especially when the treats occupy my poodle long enough for me to get something accomplished without him interfering... I love the little guy, but any time I'm taking photos I swear he tries to photobomb my shots. That's where Nylabone's Healthy Edibles WILD line comes into play...

http://ctitbytrk.com/?a=1671&oc=2540&c=16426&s1=.

I hand over a WILD bone to my furry friends and they feel like they are in heaven, while I get the chance to work without a photobombing poodle in the background... and well, sometimes, I just take pictures of him being cute waiting for his bone too.

http://ctitbytrk.com/?a=1671&oc=2540&c=16426&s1=.

We all love the bones because they are all-natural with real meat, available in all kinds of flavors that your dogs will love ranging from bison to wild turkey, and their proudly made in the USA! What more could you ask for in a dog treat?

http://ctitbytrk.com/?a=1671&oc=2540&c=16426&s1=.

How about a money-saving offer to add to all the goodness? Click here to score a $1.00 coupon and you can combine this offer with the in-store $1 off coupon (while supplies last)! Plus, if you use the Ibotta app, you can score another $1.00 off... That means you'll save big time and be able to treat your dogs to a bone that you both can love... It's time to get WILD, Nylabone Healthy Edibles WILD to be exact!

http://ctitbytrk.com/?a=1671&oc=2540&c=16426&s1=.


October 5, 2015

The Perfect Purple Find!


When thrifting, I'm usually all about brand names or finding "the look" for less, this week I'm sharing one of my favorite dresses. It isn't high end, but it looks amazing, in my humble opinion... haha.


I've been hunting for dresses that show off my figure and I found the perfect purple frock on one of my latest trips to the thrift store.


The cut of this dress is so flattering that anyone can wear it in style, but since it's such a bright shade of my favorite color and the perfect size for me - it's staying in my closet for a while. The bow detail, drawing your eyes into the waist of the dress and the shocking color, I'm obsessed!


I decided to pair this little beauty with a necklace from Chloe & Isabel and a pair of nude heels that I got from Target many, many moons ago.


A Love Story with More of What Really Matters...

This shop has been compensated by Collective Bias, Inc. and its advertiser. All opinions and stop motion love videos are mine alone. #MoreBanquet #CollectiveBias


Sometimes I play with my food, sometimes my food falls in love...

Here's a love story with more of what really matters,
more delicious flavor AND chicken in every bite!


October 2, 2015

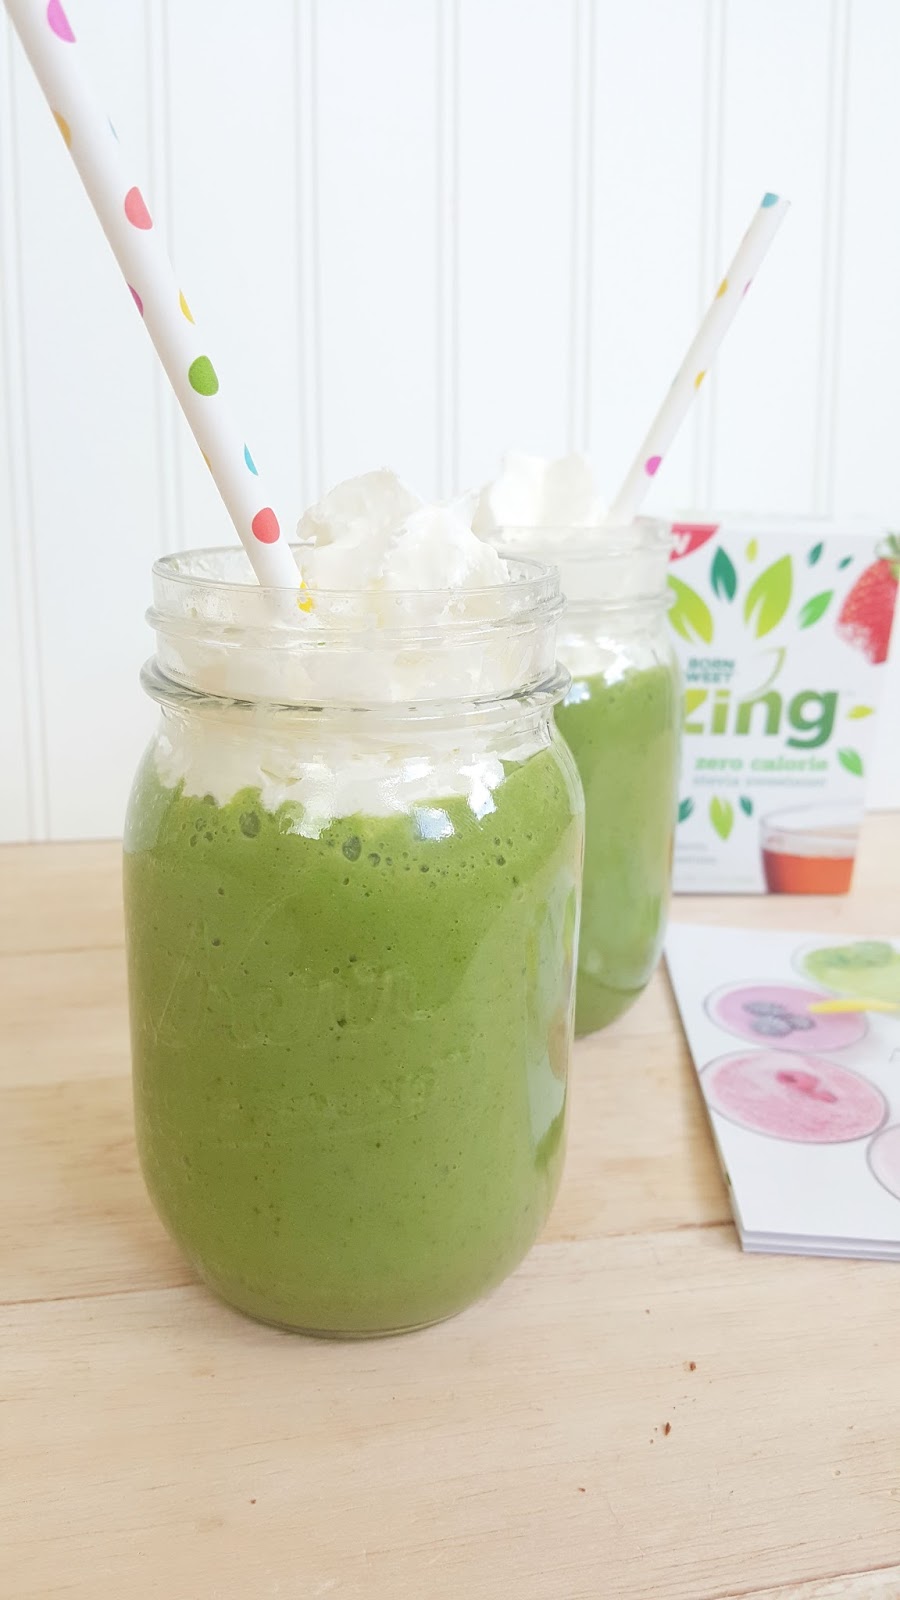
Ama-Zing Iced Blended Latte & Super Green with a Zing Smoothie

Thank you to Zing™ Zero Calorie Stevia Sweetener and Her Campus Media for partnering on this post!
Ama-Zing Iced Blended Latte & Super Green with a Zing Smoothie

I'm an espresso-drinking, candy-eating, smoothie-sipping type of gal. I'm also a girl trying to watch her figure after losing 40lbs, but like most gals, my sweet tooth is real. I know most people refer to the "struggle" being real, does a sweet tooth count as part of the struggle...? I think so.

Ama-Zing Iced Blended Latte & Super Green with a Zing Smoothie

I've had to learn to balance my food choices, something I think most of us struggle with... unless your a nutritionist or a dietitian. Let's start off with the fact that it's totally normal to crave foods and it's completely fine (and sometimes healthy) for you to indulge in your cravings, sometimes.

Ama-Zing Iced Blended Latte & Super Green with a Zing Smoothie

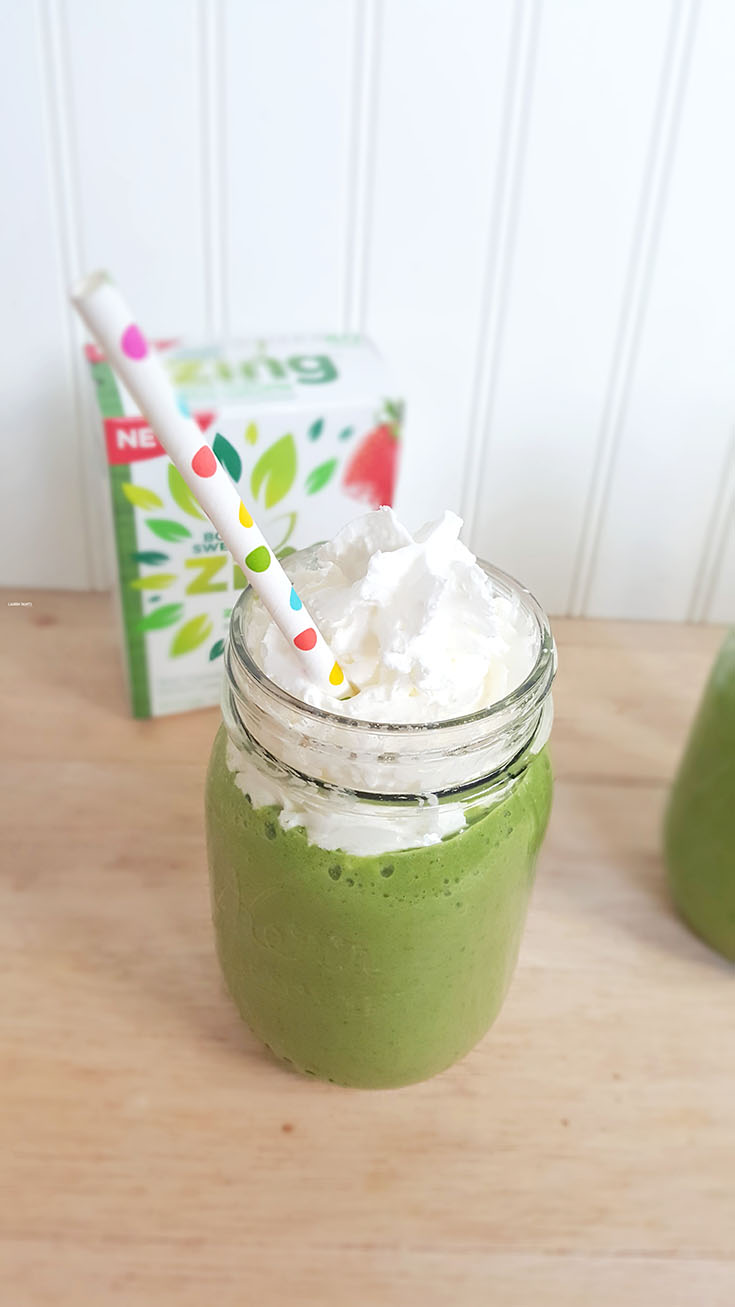
What I've had to master is not always giving into my sweet tooth with sugary, sweet donuts or delightful little candy treats. Instead I've been opting for a Born Sweet™ Zing™ Zero Calorie Stevia sweetened espresso and a chocolaty protein bar or sometimes I'll even make a small batch of chocolate covered fruit and munch on that with a green smoothie sweetened yet again with my favorite sweetener, Zing™ Zero Calorie Stevia. I'm not giving up my sweet tooth, I'm just trading this for a healthier version of that and I'm totally okay with that.


Ama-Zing Iced Blended Latte & Super Green with a Zing Smoothie

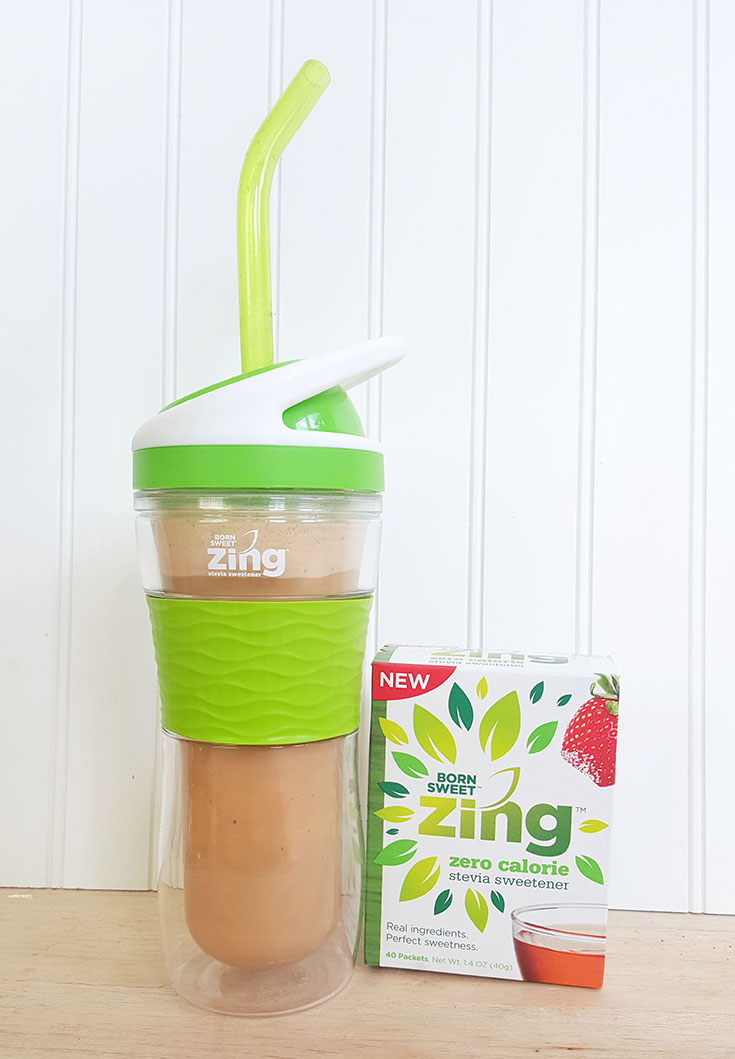
What exactly is Zing™ Zero Calorie Stevia Sweetener? It's a sweetener made with only real ingredients—nothing artificial. This little miracle is made by extracting the natural sweetness found in Mother Nature's stevia plant; with ZERO artificial ingredients and ZERO calories, I know how I'll be sweetening my espresso from now on!

Ama-Zing Iced Blended Latte & Super Green with a Zing Smoothie

Are you trying to maintain your weight and watching your calories? Are you ready to make a lifestyle change? Today is the day to make the smart choice; today you should choose to sweeten your life with the delicious sweetening experience of Zing™ Zero Calorie Stevia Sweetener and 5 per serving Calorie Zing™ Baking Blend made with stevia leaf extract and pure cane sugar.

Ama-Zing Iced Blended Latte & Super Green with a Zing Smoothie

Want to give Zing™ Zero Calorie Stevia Sweetener a try? You can use the store locator to find your favorite supermarket that carries Zing or you can order a free sample (and a coupon) here! Either way, you should give Zing a try—you won't regret the decision!

Ama-Zing Iced Blended Latte & Super Green with a Zing Smoothie

Not sure which recipe to try first? I've made my
favorite recipes into a printable so that you can always have these Zing-y recipes on hand! Click here to download and print it off!

Ama-Zing Iced Blended Latte & Super Green with a Zing Smoothie

Now that I've shared some of my favorite ways to satisfy my sweet tooth, I'd love how to hear what your "cravings" or food-related weakness is...? Do you think adding Zing™ Zero Calorie Stevia Sweetener to your daily routine could help your diet? Tell me your thoughts in the comments below, I can't wait to hear!

DIY Upcycled Laundry Room Wall Decor Hanger

This shop has been compensated by Collective Bias, Inc. and its advertiser. All opinions are mine alone. #LoveAmericanHome #CollectiveBias

Cute and functional, this laundry hanger is the perfect way to add a little bit of fun to your laundry room! Make it yourself with this DIY tutorial...


If you've been hanging around the blog lately, you've noticed I've been going from room to room redecorating and adding little DIY projects to our place to make it feel more like home and sharing the projects with you so that your home can feel a little more like home. Well, today I'm sharing another awesome DIY craft and this one was well needed in my laundry room, if you're looking for a fun new piece of home decor or a functional laundry hanger then stick around...

http://cbi.as/kg26


We have an over-sized laundry room or what I refer to as our "mud room" area in the back of our house. With four doors leading to all different spaces, it's a weird room and I had no where to hang anything that couldn't be dried in the dryer except on door knobs, which wasn't really working. The room has just had our washer and dryer for a while now, so I wanted to spice things up and make it feel a little more home-like.

Cute and functional, this laundry hanger is the perfect way to add a little bit of fun to your laundry room! Make it yourself with this DIY tutorial...

We added a cute little couch and some pillows to make the space feel more cozy but I wanted to add something functional and cute to the room, something with an eclectic flair that could still be useful.


Cute and functional, this laundry hanger is the perfect way to add a little bit of fun to your laundry room! Make it yourself with this DIY tutorial...


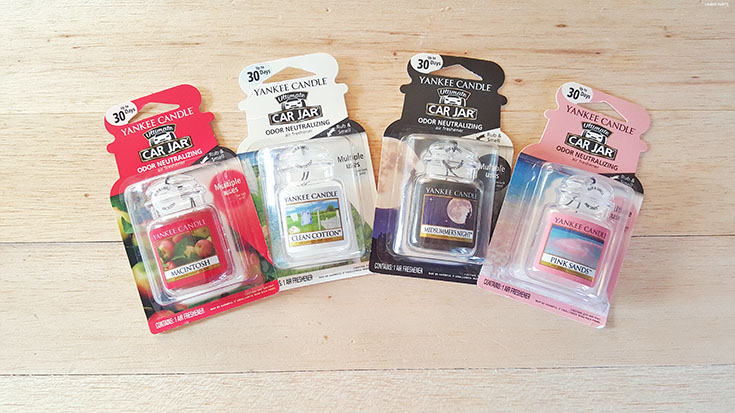
So with a little bit of elbow grease, a power drill, and a bit of determination I made a laundry room wall hanger all by myself. Not only is it adorable, but it's actually functional.. I can use it to dry my clothes and I'll definitely be using it to provide a comforting fragrance to the room as well, with Yankee Candle® brand Car Jar Ultimate's in all my favorite fragrances!

Cute and functional, this laundry hanger is the perfect way to add a little bit of fun to your laundry room! Make it yourself with this DIY tutorial...

Since the "mud room" is a main point of entry from the backyard and the side yard, people are always going in and out of the room. Whether it's my husband coming in from mowing the lawn or my bestie and I wondering in after a long day at the beach, I want it to smell nice when someone enters the room so now that I have the adorable new laundry hanger, I just stick a Pink Sands Car Jar or a Clean Cotton Car Jar up there and we're set!

Cute and functional, this laundry hanger is the perfect way to add a little bit of fun to your laundry room! Make it yourself with this DIY tutorial...

Now that I've bragged about how adorable my project is and how great my house smells, I know you want to make one of these pottery-barn-esque laundry room wall decor pieces of your own! Get your tool box out, it's time to get crafty!

Cute and functional, this laundry hanger is the perfect way to add a little bit of fun to your laundry room! Make it yourself with this DIY tutorial...


Items needed:
Wood board
Chalk Paint
Chalk Paint Wax
Paint Brushes
Cabinet Knobs
Screw Driver
Power Drill
Yankee Candle® Car Jar Ultimate

Starting with your wood board, sand until smooth to the touch.

Cute and functional, this laundry hanger is the perfect way to add a little bit of fun to your laundry room! Make it yourself with this DIY tutorial...

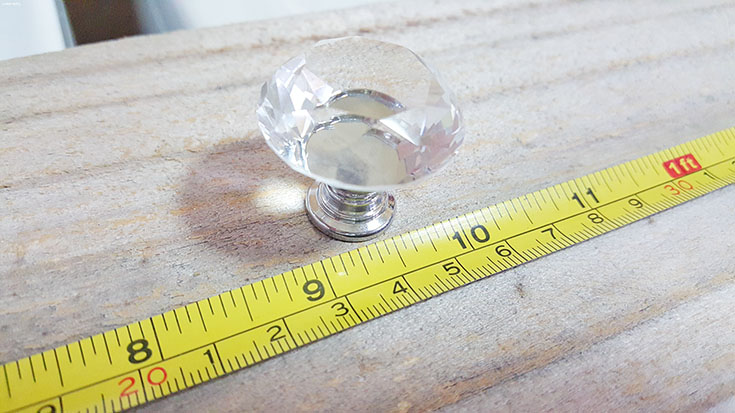
Once smooth, you'll want to measure the entire length of the board and mark where you want the holes for your knobs. I had a 67 inch long board and measured holes about every 9.5 inches, making an X where i planned to drill.

Cute and functional, this laundry hanger is the perfect way to add a little bit of fun to your laundry room! Make it yourself with this DIY tutorial...

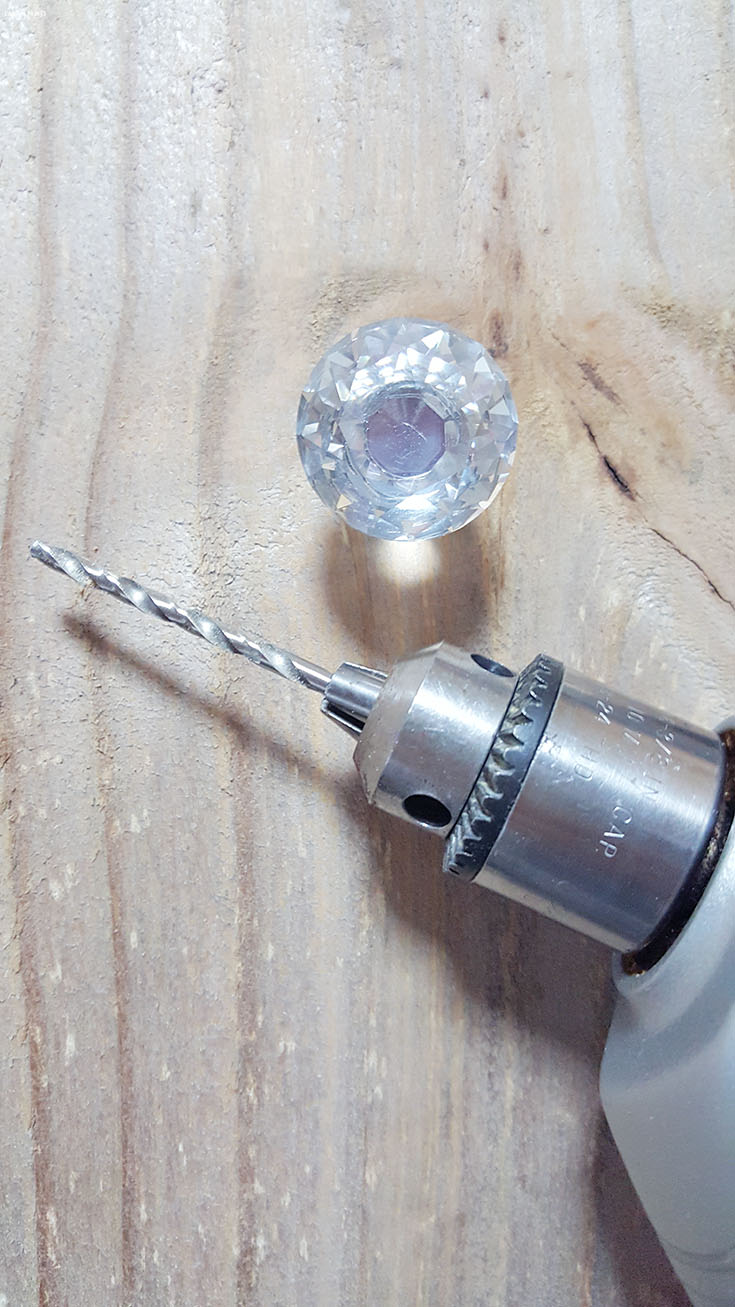
Now find a sturdy surface and use the power drill to make holes for each of the knobs.

Cute and functional, this laundry hanger is the perfect way to add a little bit of fun to your laundry room! Make it yourself with this DIY tutorial...

Once the holes are drilled, apply a base layer of paint - I used an azure chalk paint and I love the way the color looks on the old wood, you can use any type of paint, in any color - whatever matches your home!

Cute and functional, this laundry hanger is the perfect way to add a little bit of fun to your laundry room! Make it yourself with this DIY tutorial...

Once the base layer of paint dries, apply a light, thin layer of white wax to seal the paint. You'll want to apply the wax in short, but steady strokes. Allow the board to dry as recommended on the paint/wax bottle.

Cute and functional, this laundry hanger is the perfect way to add a little bit of fun to your laundry room! Make it yourself with this DIY tutorial...

Once completed, screw the knobs into each hole. Using nails, hang your new laundry hanger sturdily on the wall. Next you'll want to hang your favorite Yankee Candle® Car Jar Ultimate in your favorite fragrance and your project is complete!


Cute and functional, this laundry hanger is the perfect way to add a little bit of fun to your laundry room! Make it yourself with this DIY tutorial...

It's so nice walking out into a room that not only looks better, but smells better thanks to all the amazing Yankee Candle® Car Jar options! I bought one in each fragrance they offered, Pink Sands being my absolute favorite though! Followed closely by the Clean Cotton fragrance.

Cute and functional, this laundry hanger is the perfect way to add a little bit of fun to your laundry room! Make it yourself with this DIY tutorial...


Have you had the chance to smell all the fragrances? You can get your hands on all the best fragrances at Wal-Mart, I was able to find my favorites in the Automotive section of my store or you can check out the Walmart assortment page!

Cute and functional, this laundry hanger is the perfect way to add a little bit of fun to your laundry room! Make it yourself with this DIY tutorial...

Now that I've shared a super fun way to add some pizazz to your laundry room with a fairly simple tutorial, I'd love to hear what your laundry room looks like now or what items are on your "must-have" list for your laundry room area? Do you want to add some extra smelly-goodness to your home with a Yankee Candle® product? Tell me all about it in the comments below!

Cute and functional, this laundry hanger is the perfect way to add a little bit of fun to your laundry room! Make it yourself with this DIY tutorial...


October 1, 2015

How I turned my Funky 50's bathroom into a Beautiful Mermaid Sanctuary + a Simple DIY Mermaid Driftwood Project!

This shop has been compensated by Collective Bias, Inc. and its advertiser. All opinions are mine alone. #CraftedExperience #CollectiveBias
From funky 50's bathroom to a Mermaid Sanctuary, check out my new, beautiful mermaid gallery wall AND learn how to make an awesome DIY mermaid sign!

When I saw our quirky bathroom in our rental home was a funky green in color, I knew I could either learn to embrace the color or we could keep looking for a different place to live. The latter wasn't really an option because the house is perfect for us in so many other ways, so I decided I had to learn to love our bathroom the way it is and once I decided it was "mermaid" green in color, I knew exactly how I wanted to decorate.

From funky 50's bathroom to a Mermaid Sanctuary, check out my new, beautiful mermaid gallery wall AND learn how to make an awesome DIY mermaid sign!

Now that I've added "my touch" to our bathroom, it has to be one of my favorite rooms in the house! Since I'm a total mermaid lover, I embraced the mermaid green so much that I decided to make a mermaid gallery wall to match the wonderful green color!

From funky 50's bathroom to a Mermaid Sanctuary, check out my new, beautiful mermaid gallery wall AND learn how to make an awesome DIY mermaid sign!

From funky 50's bathroom to a Mermaid Sanctuary, check out my new, beautiful mermaid gallery wall AND learn how to make an awesome DIY mermaid sign!

While I love everything on the mermaid gallery wall, today I want to share how I made the awesome DIY sign for the bathroom. I made a super simple sign with a famous quote from one of my favorite movies, after looking at all my wonderful mermaid stuff I couldn't help but think to myself, "Look at this stuff, isn't it neat? Wouldn't you think my collection's complete?" and that's when I decided what quote needed to be on the sign.

From funky 50's bathroom to a Mermaid Sanctuary, check out my new, beautiful mermaid gallery wall AND learn how to make an awesome DIY mermaid sign!

My mermaid collection is neat, so the sign is fitting and since it's on my version of "driftwood" it adds the perfect beachy touch to the room! Want to make a mermaid sign for your home? I'm sharing a short little tutorial on how I made my sign so that you can make one for your home or the home of another mermaid-loving individual.


From funky 50's bathroom to a Mermaid Sanctuary, check out my new, beautiful mermaid gallery wall AND learn how to make an awesome DIY mermaid sign!


Items needed:

Scrap piece of wood
Paint in white and teal
White paint pen
Stencils / Cricut Explore
Paint Brushes
Hot Glue Gun
Large Serving Fork or a "Dingle Hopper"

From funky 50's bathroom to a Mermaid Sanctuary, check out my new, beautiful mermaid gallery wall AND learn how to make an awesome DIY mermaid sign!

You'll start this project by sanding your piece of wood, removing any dirt or debris. I actually used an old fence post, but you can use any ol' piece of wood. I wanted the drift wood look but if you are looking for something more polished I suggest hitting up a craft store for canvas or another wood surface!

After your wood is sanded, you'll want to paint a thin, watered down layer of white over the whole piece of wood; allowing for a "white-washed" look.

From funky 50's bathroom to a Mermaid Sanctuary, check out my new, beautiful mermaid gallery wall AND learn how to make an awesome DIY mermaid sign!

Your next step, if you have a Cricut, will be to choose a font and print off the text for this little project. I printed "Look at this stuff," in one font and "isn't it neat?" in another, just for fun! If you don't have a cricut, you can buy any alphabet stencils at Walmart or a craft store and use those instead!

From funky 50's bathroom to a Mermaid Sanctuary, check out my new, beautiful mermaid gallery wall AND learn how to make an awesome DIY mermaid sign!

I also went ahead and printed out a little mermaid with her favorite little flounder, because my craft for the mermaid bathroom wouldn't be complete without a mermaid on it... right?

Next, I taped my "stencils" to the piece of wood. I applied a thin layer of the teal paint over the top of each stencil - slowly, making sure I had paint at every angle of each letter and surrounding the mermaid.

From funky 50's bathroom to a Mermaid Sanctuary, check out my new, beautiful mermaid gallery wall AND learn how to make an awesome DIY mermaid sign!

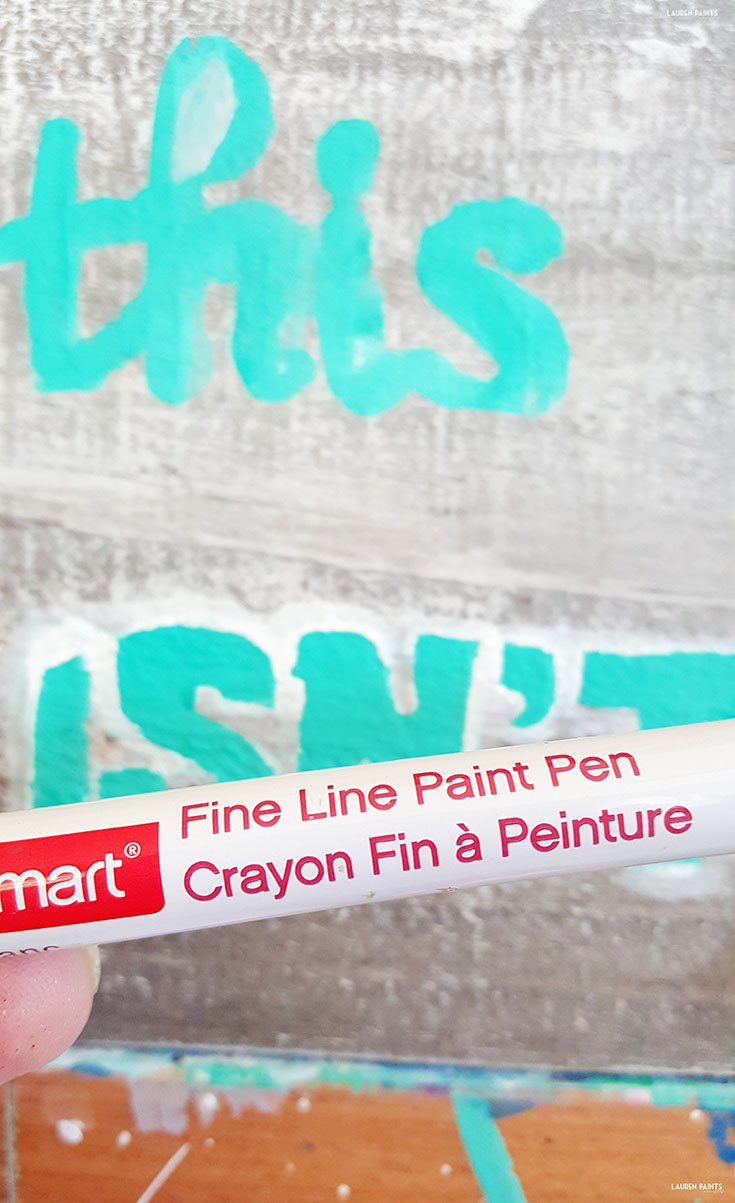
Once I was certain the letters were thoroughly painted, it was time for a little break while I let the letters dry. After they were dry to the touch, I slowly removed the stencils from the board - the quote and the mermaid transferred decently well but I decided I really wanted it to pop so I grabbed a white paint pen and traced around each letter, allowing for a subtle way to make the quote really "pop" on the wood!

From funky 50's bathroom to a Mermaid Sanctuary, check out my new, beautiful mermaid gallery wall AND learn how to make an awesome DIY mermaid sign!

After tracing the letters with a white paint pen, I heated up the glue gun and it was time to attach the "dingle hopper" (the fork) to the sign! With one thin line of hot glue, I attached the fork at an angle to the sign and it is complete!

From funky 50's bathroom to a Mermaid Sanctuary, check out my new, beautiful mermaid gallery wall AND learn how to make an awesome DIY mermaid sign!

I let the entire sign dry over night and the next morning, it was time to hang everything in it's place! With mermaids in several shapes and colors, little beachy decor, my hand-crafted mermaid sign, and more - I couldn't contain my excitement!

From funky 50's bathroom to a Mermaid Sanctuary, check out my new, beautiful mermaid gallery wall AND learn how to make an awesome DIY mermaid sign!

It took me about ten minutes to decided where I wanted to put everything and since my hubby is fantastic, he did the honors of hanging everything while I judged whether each item was centered and straight. We hung mirrors, little mermaid figurines, sea shells in frames, and more. But my favorite item, is obviously the one I shared how to make today.

From funky 50's bathroom to a Mermaid Sanctuary, check out my new, beautiful mermaid gallery wall AND learn how to make an awesome DIY mermaid sign!

My other favorite thing about my bathroom is something I usually don't talk about... I'm totally going out on a limb here but if you haven't tried Quilted Northern Ultra Soft & Strong® Bath Tissue yet, you should! I picked up a small package to go on the shelf at Walmart and you can too!

From funky 50's bathroom to a Mermaid Sanctuary, check out my new, beautiful mermaid gallery wall AND learn how to make an awesome DIY mermaid sign!

Quilted Northern is designed to be forgotten and that's exactly the way a toilet paper should be, am I right? Meticulously crafted, Quilted Northern is a reliable brand that has been around for 100 years and offers maximum comfort and durability, what more could a gal ask for when she's doing her business?
From funky 50's bathroom to a Mermaid Sanctuary, check out my new, beautiful mermaid gallery wall AND learn how to make an awesome DIY mermaid sign!

With mermaids, DIY projects and Quilted Northern Ultra Soft & Strong with CleanStretch, you can't go wrong! Now that I've shared a fun way to add some mermaid awesomeness in your life, I'd love to hear all about your favorite DIY project you've created in the comments below!

From funky 50's bathroom to a Mermaid Sanctuary, check out my new, beautiful mermaid gallery wall AND learn how to make an awesome DIY mermaid sign!