Showing posts with label Projects. Show all posts

August 9, 2016

A Simple DIY Dog Toy Tutorial + an Update on Beneful! #FriendsofBeneful

Thanks to Beneful for choosing my pups and I to be part of the #FriendsofBeneful ambassador program, regardless all opinions expressed below are my own.

Changing up your dog's life doesn't have to be a stressful thing... Find out more about Beneful's NEW formula and get the directions to make your pup a toy out of materials you likely already have in your home! #FriendsofBeneful

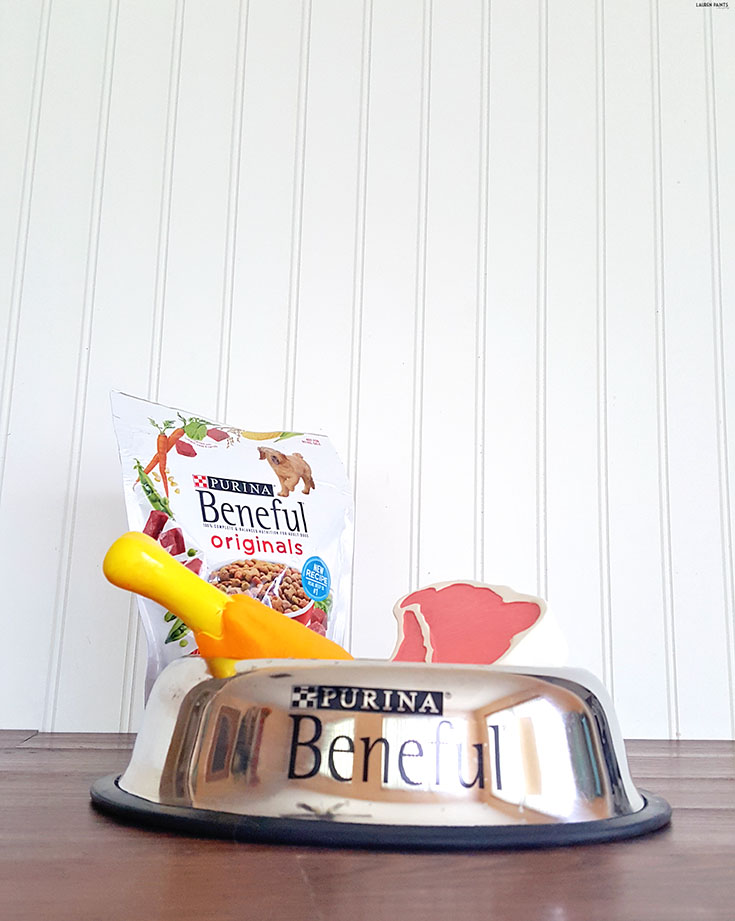
I've already shared the fact that my dogs and I are pretty big fans of Beneful and we were overjoyed to recently share the news about the Dream Dog Parks that are in the works this year, but today's news may take the cake. While Beneful was already an incredible food, in my dog's eyes and my own (for obviously different reasons), I'm excited to share that it's gotten even better recently!

Changing up your dog's life doesn't have to be a stressful thing... Find out more about Beneful's NEW formula and get the directions to make your pup a toy out of materials you likely already have in your home! #FriendsofBeneful

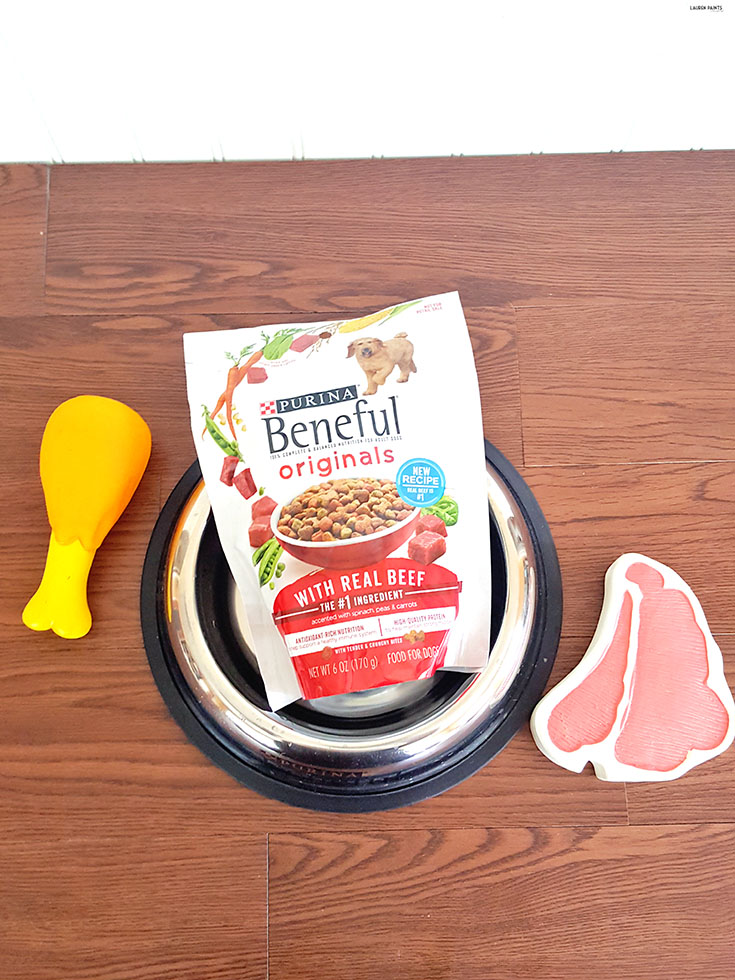
The Beneful team has been working to evolve their food into the perfect food from a dog owner's perspective for the past two years and it's official, they've mastered their craft and my dogs love the new recipe.

Changing up your dog's life doesn't have to be a stressful thing... Find out more about Beneful's NEW formula and get the directions to make your pup a toy out of materials you likely already have in your home! #FriendsofBeneful

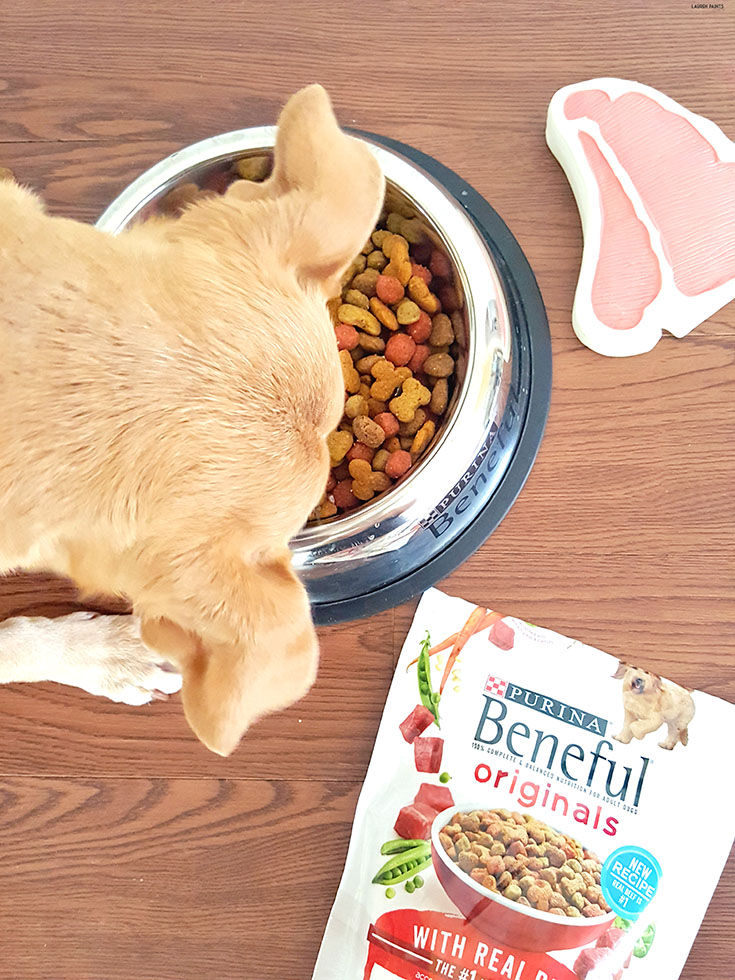
With meat as the #1 ingredient in both the beef and chicken dry Beneful foods and Salmon hopefully joining the extra meaty-train soon, it's obvious why my dogs are totally gaga over the new formula... and why I'm a happy dog owner knowing I'm feeding my pups something they love and something that provides nourishment for their little canine bodies. Not only did they adjust their formula to include more meaty goodness, there's no added sugar in any of the recipes so your dog can eat without a worry.

Changing up your dog's life doesn't have to be a stressful thing... Find out more about Beneful's NEW formula and get the directions to make your pup a toy out of materials you likely already have in your home! #FriendsofBeneful

The best part of the news I'm sharing with you today is this: Beneful is so proud of their new formula, they are offering you the chance to sign up for a free sample for your canine friend! Once the new formula of Beneful has received two "paws" up approval from your doggy, be sure to share a review on Beneful's website letting the world know how much your furry friend enjoys the new food.

Changing up your dog's life doesn't have to be a stressful thing... Find out more about Beneful's NEW formula and get the directions to make your pup a toy out of materials you likely already have in your home! #FriendsofBeneful

While the change in Beneful is a good thing, I suppose I should note that you can't just switch your fuzzy friend's food first thing. You'll want to transition your dog to the new food, to ease their tummies smoothly. Want to master the art of changing your dog's food? Check out other helpful feeding tips and tricks from Beneful here.

Changing up your dog's life doesn't have to be a stressful thing... Find out more about Beneful's NEW formula and get the directions to make your pup a toy out of materials you likely already have in your home! #FriendsofBeneful

Speaking of change, my dogs are going through quite a bit of change lately... we're moving furniture around and getting things ready for our daughter's arrival next month and so far, they've been so very good about all of the new-ness and adapting perfectly. While they've been adapting well thus far, I've been trying to think of fun ways to reward them and remind them we love them since a BIG change is coming soon, which led me to make them a new toy this weekend. I figured we could buy a load of toys, but making one out of stuff that already has our scent, would be a more significant reward.

Changing up your dog's life doesn't have to be a stressful thing... Find out more about Beneful's NEW formula and get the directions to make your pup a toy out of materials you likely already have in your home! #FriendsofBeneful
I'm super excited to say that their new toy is easy enough for anyone to make and the best part is you most likely you have the materials laying around your house to put it together right now, if you want!

For this project you will need:

Changing up your dog's life doesn't have to be a stressful thing... Find out more about Beneful's NEW formula and get the directions to make your pup a toy out of materials you likely already have in your home! #FriendsofBeneful

a water bottle
an old shirt or dress
an old pair of pants
scissors

To get this project started you'll want to remove the label from the water bottle and the cap as well. 
Next you'll want to trim the bottom hem of the dress or shirt off, this will be your ties for the ends of the toy.

Changing up your dog's life doesn't have to be a stressful thing... Find out more about Beneful's NEW formula and get the directions to make your pup a toy out of materials you likely already have in your home! #FriendsofBeneful

Following this step, you'll want to use the water bottle and measure enough fabric on the pant leg to cover the entire bottle and tie the ends, then cut the pant leg as needed.

Changing up your dog's life doesn't have to be a stressful thing... Find out more about Beneful's NEW formula and get the directions to make your pup a toy out of materials you likely already have in your home! #FriendsofBeneful

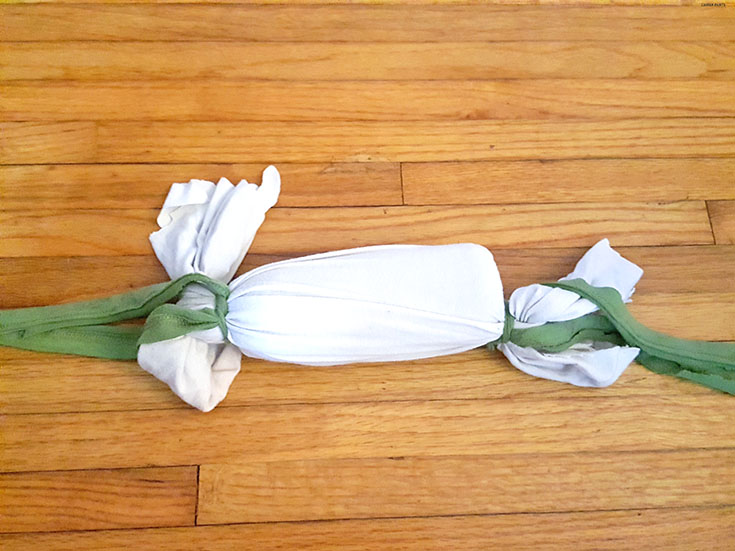
After your fabric is "measured", cut one slit into each end of the pant fabric and tie the bottle inside with a double knot on each end. Cut the dress or shirt hem into pieces and tie them around each double knot of the bottle.

Changing up your dog's life doesn't have to be a stressful thing... Find out more about Beneful's NEW formula and get the directions to make your pup a toy out of materials you likely already have in your home! #FriendsofBeneful

Since my pant legs were choppily cut anyways, I went ahead and added a few extra slits to the pant fabric to make for some frayed ends, if you would like you can do the same to add some texture and make it easier for your pup to grab.

Changing up your dog's life doesn't have to be a stressful thing... Find out more about Beneful's NEW formula and get the directions to make your pup a toy out of materials you likely already have in your home! #FriendsofBeneful

Now's the fun part for you and your pup, hand this cute little tied fabric toy over to your fuzzy best friend and let them enjoy!

Changing up your dog's life doesn't have to be a stressful thing... Find out more about Beneful's NEW formula and get the directions to make your pup a toy out of materials you likely already have in your home! #FriendsofBeneful

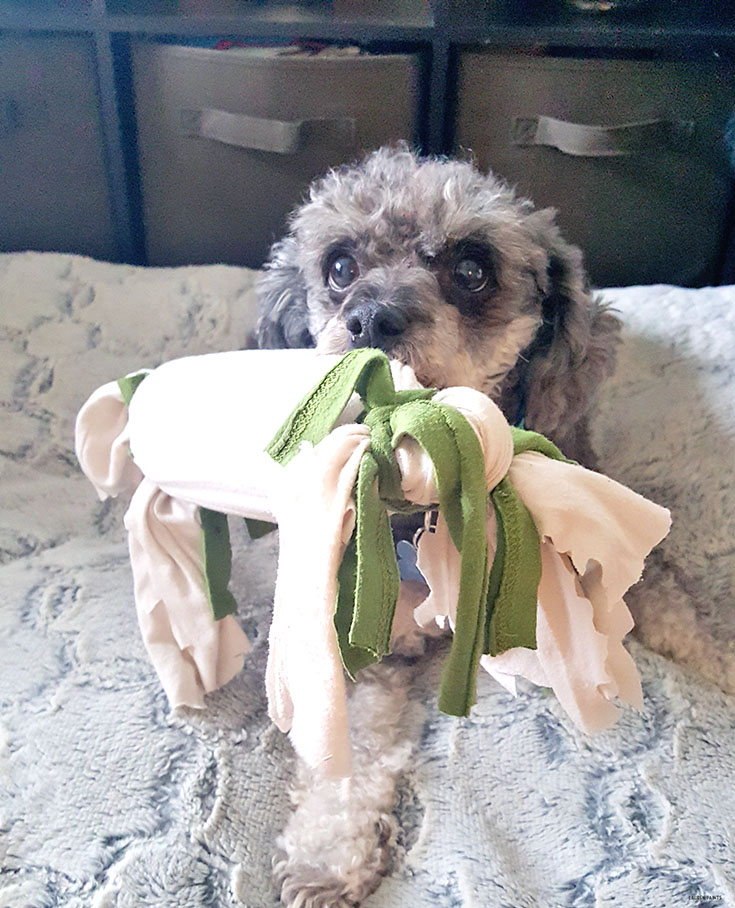
It's that easy to give your dog something they'll adore... and it's all made with stuff that would likely end up in the trash or recycling anyways! The best part of this toy is the fact it smells like me somewhat... so while we're at the hospital next month this will be a great way to remind them of me. If I don't say so myself, this is a great toy for a dog going through a transition... and I think my poodle friend agrees!

Changing up your dog's life doesn't have to be a stressful thing... Find out more about Beneful's NEW formula and get the directions to make your pup a toy out of materials you likely already have in your home! #FriendsofBeneful

So tell me, have you changed anything major in your dog's life before? Thinking it's time for a change? Don't forget to snag a free Beneful sample here, then let me know all about your doggy's life changes in the comments below.
August 8, 2016

Summertime Starbucks: DIY Thank You Card Upcycled K Cup Project + Coffee, Chai Tea, or Iced Tea?

Thanks to Starbucks for sending over these awesome K-cups and other beautiful items to include in my post today and a big thanks for offering a great affiliate program that I've linked below, regardless all opinions expressed below are my own.

Starbucks is the best and so are your friends, say thank you with this ADORABLE DIY thank you card made mostly from recycled Starbucks Keurig products! #StarbucksCoffeeBlogger


Summer & Starbucks go together hand-in-hand, in my mind... Well Starbucks goes with every season and that's why I'm such a big fan. With so many amazing flavors and such a versatile line up of coffees and teas, I'm a bit of a Starbucks junkie... so I'm having to limit my intake while carrying Delainey and I can't wait to get back into my multi-cup routine soon.

Starbucks is the best and so are your friends, say thank you with this ADORABLE DIY thank you card made mostly from recycled Starbucks Keurig products! #StarbucksCoffeeBlogger

While I'm not drinking more than a cup a day currently, I was more than overjoyed to dish out some coffee, chai tea, and iced tea goodness at my latest little get-together with our buddies so we could sample all of the delicious flavors Starbucks sent me to try out this summer.

Starbucks is the best and so are your friends, say thank you with this ADORABLE DIY thank you card made mostly from recycled Starbucks Keurig products! #StarbucksCoffeeBlogger

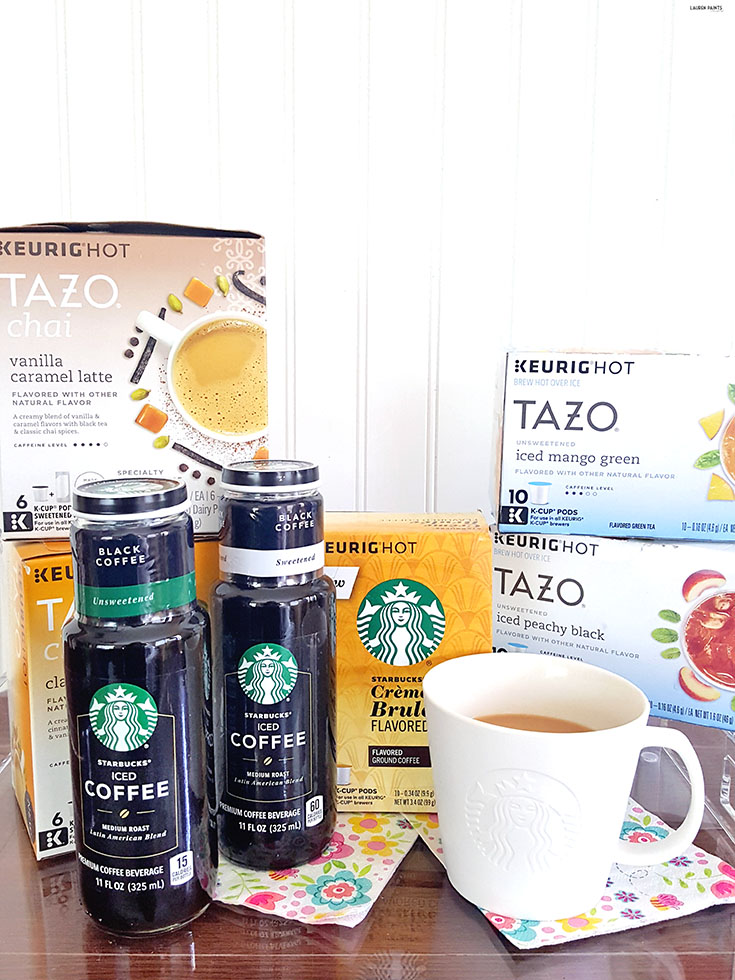
I sipped on a glass of the Tazo Chai Vanilla Caramel Latte while I made a cup of Creme Brulee flavored coffee for my hubs, my friends each wanted to try something new so I served up a glass of the Tazo Iced Peachy Black tea and another Tazo Chai Vanilla Caramel Latte for each of them... paired with some delicious vegan, oatmeal cookies! We were all so impressed with the "homemade" beverages, I think I've officially earned the title of "Barista" at this point... Lucky for me, making delicious Starbucks coffee and tea at home is as easy as pressing a button.

Starbucks is the best and so are your friends, say thank you with this ADORABLE DIY thank you card made mostly from recycled Starbucks Keurig products! #StarbucksCoffeeBlogger

While making the coffee is super easy and enjoyable, the same could be said about having great friends. Our buddies blessed us with so much adorable stuff for Delainey recently, I had to make something for them in return. I couldn't think of a thing they needed so I decided making them a little thank you card with a personal touch was the best way to thank them, with a little gift card attached to the back - I'm sure they will be more than happy with their little surprise.

Starbucks is the best and so are your friends, say thank you with this ADORABLE DIY thank you card made mostly from recycled Starbucks Keurig products! #StarbucksCoffeeBlogger

Do you want to tell some one "Thanks a latte" for something amazing they've done for you recently? It's as easy as making a k-cup to make this adorable little card!


Starbucks is the best and so are your friends, say thank you with this ADORABLE DIY thank you card made mostly from recycled Starbucks Keurig products! #StarbucksCoffeeBlogger

For this project you'll need:

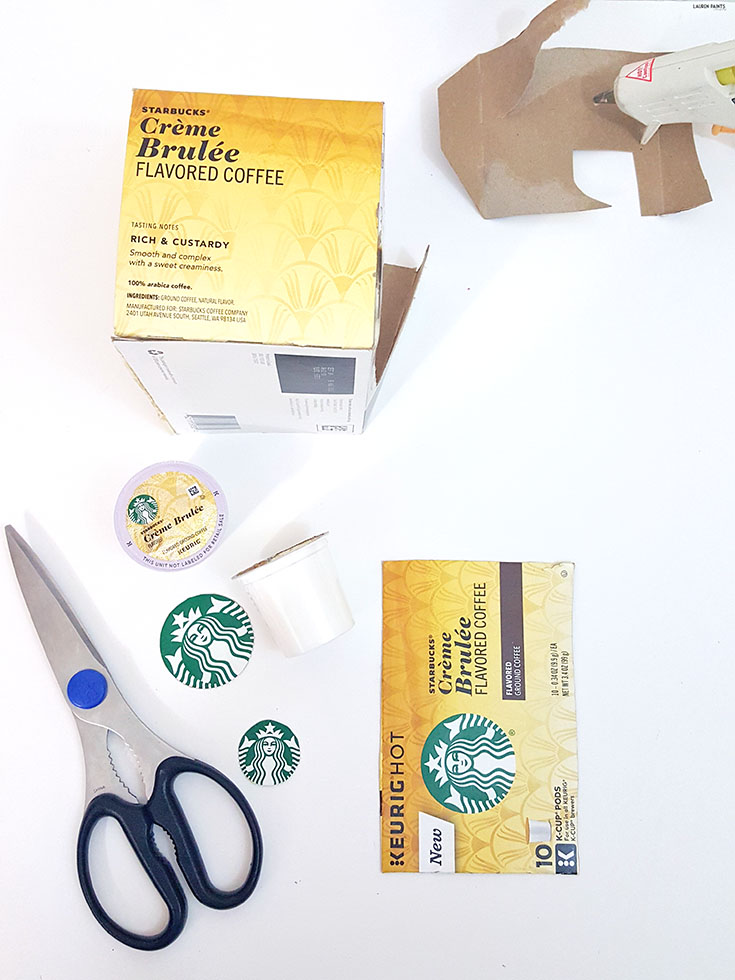
a Starbucks Keurig Coffee or Tea box
a used K-cup (rinsed and cleaned)
a hot glue gun with glue
3-4 cotton balls
scissors
a black marker or pen

First things first, to get this project started go ahead and plug in your glue gun and warm it up.

Starbucks is the best and so are your friends, say thank you with this ADORABLE DIY thank you card made mostly from recycled Starbucks Keurig products! #StarbucksCoffeeBlogger

Now go ahead and cut out the Starbucks logo from the Keurig box, being sure to leave the outer side without perforation untouched.

Starbucks is the best and so are your friends, say thank you with this ADORABLE DIY thank you card made mostly from recycled Starbucks Keurig products! #StarbucksCoffeeBlogger

Your next step is to hot glue the Starbucks logo to the side of the K-cup.

Starbucks is the best and so are your friends, say thank you with this ADORABLE DIY thank you card made mostly from recycled Starbucks Keurig products! #StarbucksCoffeeBlogger

Following that, quickly use the top of the K-cup to measure and cut out a circle piece of cardboard from one of the side pieces of "scrap" of the Keurig box, be sure to cut it large enough to cover the entire top of the K-cup. Glue this piece to the top once it's trimmed to fit.

Starbucks is the best and so are your friends, say thank you with this ADORABLE DIY thank you card made mostly from recycled Starbucks Keurig products! #StarbucksCoffeeBlogger

Next you'll want to let the glue on these pieces dry and write a cute thank you message on the untouched, un-perforated side of the box. I wrote "Thanks a latte" but you could go with something like "Words cannot espresso my thanks" or whatever punny coffee line you want!

Starbucks is the best and so are your friends, say thank you with this ADORABLE DIY thank you card made mostly from recycled Starbucks Keurig products! #StarbucksCoffeeBlogger

Once your message is written, go ahead and unravel the cotton balls. The brand I bought comes apart fairly easily so they became long strands within seconds. You'll want to have enough to "swirl" on the top of your cup to mimic whipped cream. My suggestion is to start forming it before gluing to insure you get the look you want with minimal effort. Now use your glue gun and glue the cotton balls/whipped cream to the top of the cardboard covered K-cup opening.

Starbucks is the best and so are your friends, say thank you with this ADORABLE DIY thank you card made mostly from recycled Starbucks Keurig products! #StarbucksCoffeeBlogger

Take a quick second and add a few dots of glue to the back of the K-cup/Starbucks mini-cup, pressing it onto the piece of cardboard that has the thank you message written.

Starbucks is the best and so are your friends, say thank you with this ADORABLE DIY thank you card made mostly from recycled Starbucks Keurig products! #StarbucksCoffeeBlogger

Now hand one of these bad boys out to every Starbucks loving friend you need to thank and they may just be thanking you for the adorable card showing your gratitude!


Starbucks is the best and so are your friends, say thank you with this ADORABLE DIY thank you card made mostly from recycled Starbucks Keurig products! #StarbucksCoffeeBlogger


Plus, don't miss your chance to save some money... Click here & save Up to 30% on New Summer Markdowns at Starbucks.com! 

January 5, 2016

A Florida Snowman: DIY Simple Snowman Mobile Project!

While I wasn't paid for this post, it does contain affiliate links.
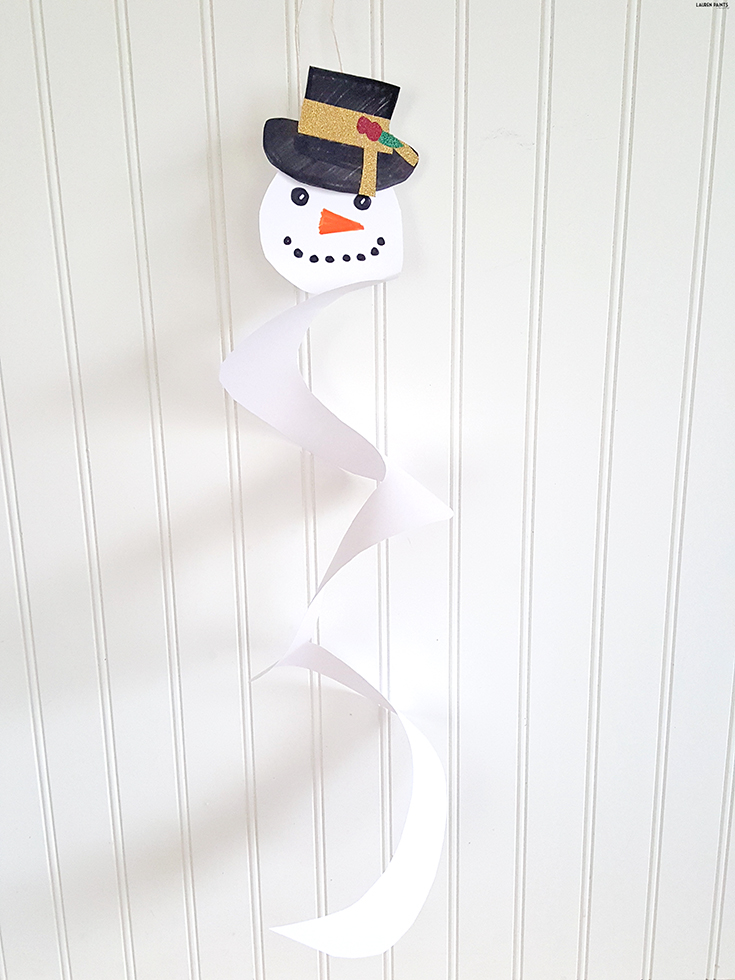
This little snowman is SO easy to build and the perfect indoor project if you are trying to avoid the cold... or reminiscing of cool weather memories.

So this may shock some of you, but after a little bit of a cold front here in Florida, I'm kind of missing the snow. While I love the beach and the warm weather most of the time, sometimes I just want a day of cold snowy weather and a cup of hot cocoa while watching my hubby build the most beautiful snowman... I guess that's the midwestern-er in me.
This little snowman is SO easy to build and the perfect indoor project if you are trying to avoid the cold... or reminiscing of cool weather memories.

While I can't exactly make actual snow here in Florida, I can at least bring a little bit of the cold weather vibe to our house with a super fun snowman mobile project... and that's where today's super simple DIY project came into play. For this project you will need:

This little snowman is SO easy to build and the perfect indoor project if you are trying to avoid the cold... or reminiscing of cool weather memories.

2 white pieces of cardstock (or printer paper)
Scissors
Markers in Orange & Black
A piece of string
Tape
Washi Tape (optional)
This little snowman is SO easy to build and the perfect indoor project if you are trying to avoid the cold... or reminiscing of cool weather memories, like I am. You'll begin by cutting out a large circle in the first piece of paper with your scissors.

This little snowman is SO easy to build and the perfect indoor project if you are trying to avoid the cold... or reminiscing of cool weather memories.

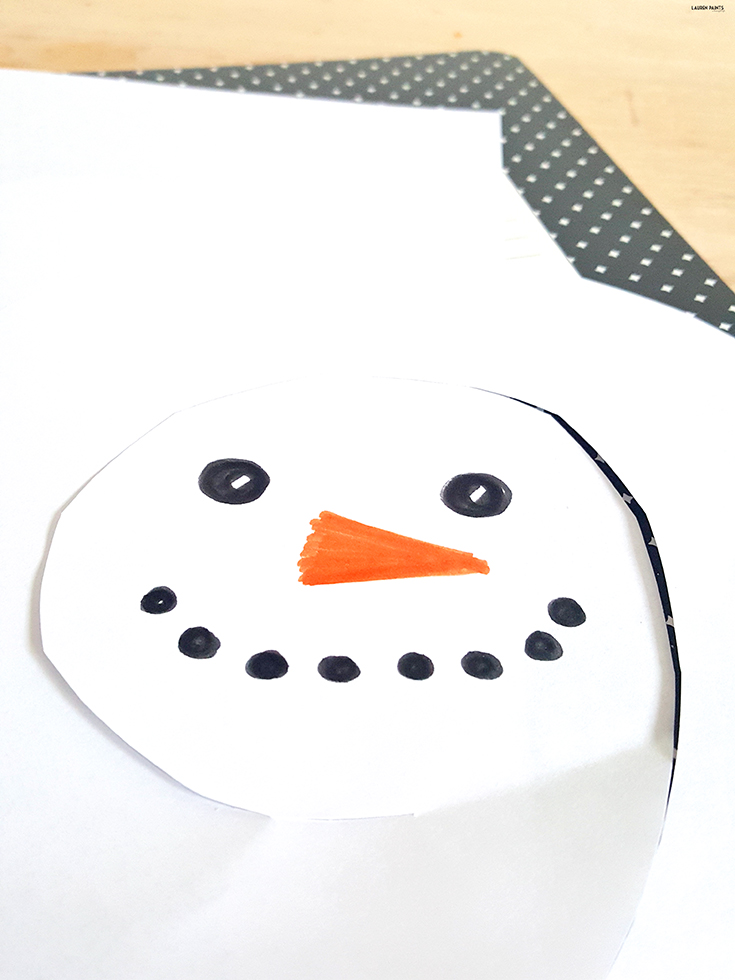
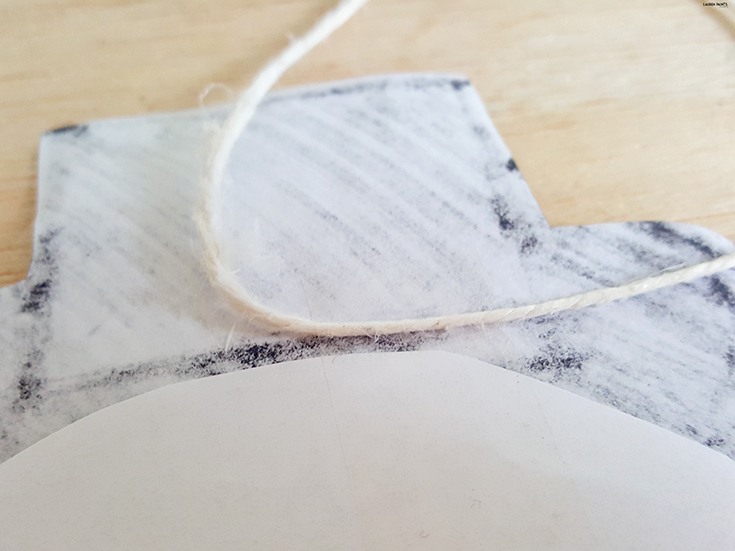
Once you have your circle, start on an edge and slowly cut a spiral into the paper, leaving a fairly decent sized full circle in the middle (this will be your snowman's head).

This little snowman is SO easy to build and the perfect indoor project if you are trying to avoid the cold... or reminiscing of cool weather memories.

Draw a carrot nose, eyes & a mouth made of "buttons" on the inner circle and set this part of the project aside.

This little snowman is SO easy to build and the perfect indoor project if you are trying to avoid the cold... or reminiscing of cool weather memories.

Take the other piece of paper and draw a circle with a square in the middle and color the entire thing black. This will be your snowman's hat! I added a piece of gold washi tape I cut into a "scarf" with washi tape berries and a leaf I cut out as well... but this is totally optional.

This little snowman is SO easy to build and the perfect indoor project if you are trying to avoid the cold... or reminiscing of cool weather memories.

Now tape the hat onto your snowman and attach a piece of string from the piece of tape. Your little guy is ready to hang out anywhere and bring a little bit of winter cheer to all that are near!

This little snowman is SO easy to build and the perfect indoor project if you are trying to avoid the cold... or reminiscing of cool weather memories.

So tell me, what's your favorite part of the cold weather lately? Do you love the chill in the air or the chance to play hooky on snow days? I can't wait to hear all about it in the comments below!

This little snowman is SO easy to build and the perfect indoor project if you are trying to avoid the cold... or reminiscing of cool weather memories.


October 27, 2015

DIY Kooky Owl Cups

This shop has been compensated by Collective Bias, Inc. and its advertiser. All opinions are mine alone. #CVS4FantaFun#CollectiveBias

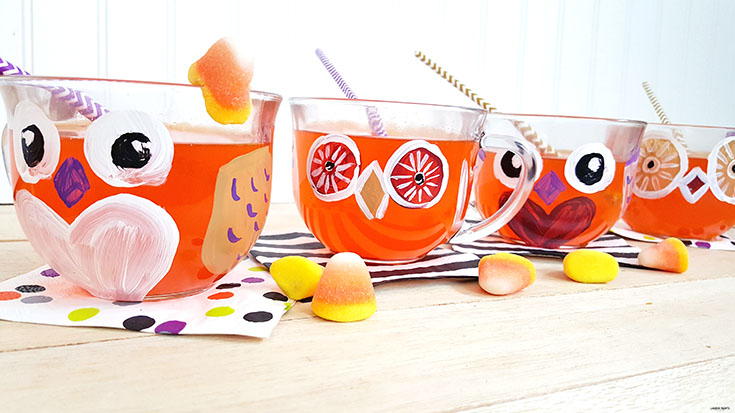
You can craft a set of customized owl cups quickly and have a hoot of a time making them!

Halloween is nearly here so you better believe my home is covered in fun, festive fall decor. With plump little pumpkins gracing our TV stand and lovely little leaves decorating our front step, it's officially as close to autumn as Florida seems to get.


You can craft a set of customized owl cups quickly and have a hoot of a time making them!

While I'm craving a bit of a bite in the air, I'm allowing myself to indulge in other fun parts of Fall lately; I've been spending time crafting, snacking on anything orange like pumpkin flavored treats, Fanta Orange Soda, and gummy candy corn, while I'm also spending lots of time blogging...

You can craft a set of customized owl cups quickly and have a hoot of a time making them!

Lucky for you, that means I'm sharing a tutorial today and what we're crafting up makes sipping down a large glass of Fanta Orange Soda a hoot of a time!

You can craft a set of customized owl cups quickly and have a hoot of a time making them!

These little owls are an awesome way to add some fall decor to your table setting and since they are hand-crafted, you can personalize each mug for each guest attending your dinner! What's even better, these mugs are top-rack dishwasher safe and so completely perfect to give as a gift when hosting a holiday party! Personalized painted owls for each guest, made with multi-surface paints are the perfect way to treat each guest to something truly unique when you have friends over, fill these cuties up with some Fanta and you're definitely in for a good time!

You can craft a set of customized owl cups quickly and have a hoot of a time making them!

Want to make a set of these adorable little owl mugs for yourself?

You'll need:
4 glass mugs
Multi-surface paint
Paint brushes
Fanta Orange Soda

You can craft a set of customized owl cups quickly and have a hoot of a time making them!


Personalizing these mugs is an easy experience, just keep things basic. Make the front circle on your owl buddies into a heart shape, add eye balls in the shape of circles, add beaks in the shape of diamonds, wings in the shape of an uppercase U. Add a layer of paint to the bottom of each mug for fun...

As you can see in my step-by-step photos below, it's best to keep things as simple as possible!

You can craft a set of customized owl cups quickly and have a hoot of a time making them!


You can even add some tail feathers for your friends that love shaking their tail feathers at holiday get togethers! Whether you customize the owls for friends or make a set to keep for yourself, these cute little buddies are the perfect way to add some fun fall items to any kitchen! You could even get a little wild and host a painting party with friends and you each could customize your own mug, the possibilities are endless and the owls that will be created will be fabulous!

You can craft a set of customized owl cups quickly and have a hoot of a time making them!

Once your owls are finished being personalized, you'll want to place them in an oven at 350 degrees and allow the paint to fully set (about 30 minutes) and then turn off the oven and allow the cups to cool, or follow the instructions on your paint tube to be sure the paint sets correctly!

You can craft a set of customized owl cups quickly and have a hoot of a time making them!

Once the cups are cool to the touch, you are cool to serve up some Fanta Orange Soda! Add some colorful straws and napkins and you've got a party on your hands!

You can craft a set of customized owl cups quickly and have a hoot of a time making them!

You can craft a set of customized owl cups quickly and have a hoot of a time making them!

You can craft a set of customized owl cups quickly and have a hoot of a time making them!

You can craft a set of customized owl cups quickly and have a hoot of a time making them!

Now that I've shared how I crafted up one of my favorite DIY projects ever, I'd love to hear what kind of fall fun you are planning this year...? Will you be attending any parties or hosting any shindigs? Don't forget to add Fanta Orange Soda to the fun - you can grab a bottle at CVS for a great deal, everyday!
You can craft a set of customized owl cups quickly and have a hoot of a time making them!

For all Your Thirsty Lil’ Monsters, save on Fanta 2 Liter Bottles - Get 4/$5 at your local CVS!

August 20, 2015

Find a Home Where You Can Be You with Trulia + Enter to Win $25K #TruliHome

I received compensation for this post as part of a promotional program with Trulia and MomSelect, regardless all opinions expressed below are my own.


If you follow me on social media or here on the blog, you've probably noticed that the Harmon family has been on the move this summer! By on the move, I don't mean we've been dancing and traveling... although we have been lucky enough to do a little bit of both. I mean that we moved into a new house, finally! Can I get a little "hip, hip, hooray"? 

Find a Home Where You Can Be You with Trulia - Finding the perfect place doesn't have to be overwhelming, check out how Trulia can help you find the perfect place AND enter to win $25K!

Both my husband and I are so excited to have finally found the house for us, but let's get real: house hunting for the perfect place is overwhelming. We spent hours just driving around through neighborhoods we liked, some nights I would stay up until sunrise looking at listings online and writing down little notes about each house. During the month of May, house hunting is all we did in our free time and it was getting old. Browsing listings on local forums without any of them actually panning out to be anything worthwhile was becoming a daunting task; I was just about to give up the search and re-new our lease, but then I started using Trulia.

Find a Home Where You Can Be You with Trulia - Finding the perfect place doesn't have to be overwhelming, check out how Trulia can help you find the perfect place AND enter to win $25K!

What's Trulia? Well, it's basically a house hunters dream, whether you are wanting to rent or buy! Trulia is one of the leading destinations for home buyers and renters, it's a website/service that makes finding a home, condo, or any piece of real estate an easy and enjoyable experience, for everyone involved. Whether you are the type who likes to debate over board games in your birthday suit while lounging in your lush backyard or the type of couple that spends hours loudly practicing your whale language skills in your acoustically pleasing loft, Trulia will be able to find the perfect place for you!


After we found Trulia, the house hunting game changed for us. I was able to adjust my search to only include places that fit into our price range, that were in the area I wanted to remain within, with the amount of bedrooms and bathrooms I preferred, and so on. Adjusting the search parameters made it easy to find houses we fell in love with, but our next hurdle to overcome was other couples falling in love with the same home.

It's a dog-eat-dog world in real estate, so having Trulia's e-mail alerts and notifications set to alert me on my phone when new listings were available in my area was a huge help! These notifications allowed us to be some of the first eyes to view the listings and ultimately helped us snag our cute little place before anyone else!

Find a Home Where You Can Be You with Trulia - Finding the perfect place doesn't have to be overwhelming, check out how Trulia can help you find the perfect place AND enter to win $25K!

After about three days of new listings being sent to my phone, I knew I had finally found the one when I saw the front of our new place in the photos, then we drove by the outside and we both fell in love. Butterflies were fluttering all over the bushes in the front with a beautiful pink & red flowered vine growing along the trellis, an oversized backyard, quirky details within the home like original hardwoods and built-in dressers, our place is perfect for us and we knew it from the second we saw it on Trulia!

Find a Home Where You Can Be You with Trulia - Finding the perfect place doesn't have to be overwhelming, check out how Trulia can help you find the perfect place AND enter to win $25K!

Whether we are walking around in the backyard singing silly songs that rhyme to our dogs or dancing in our pajamas on top of the couch on Saturday morning, we are free to be us without worrying about disturbing neighbors on each side of our apartment walls now. It feels so nice to be able to freely express our silly selves and we have Trulia to thank for our new digs to be so silly within.

Find a Home Where You Can Be You with Trulia - Finding the perfect place doesn't have to be overwhelming, check out how Trulia can help you find the perfect place AND enter to win $25K!

That's not all thought... Not only did Trulia help us find the perfect home, they want to help you find the perfect place and pay for it as well! Enter to win the #TruliHome $25K Giveaway simply by entering your e-mail here!

Find a Home Where You Can Be You with Trulia - Finding the perfect place doesn't have to be overwhelming, check out how Trulia can help you find the perfect place AND enter to win $25K!

Now that you've put your name in the hat to win big, I'd love to hear what you look for in a home to make you feel #TruliHome? Are you a fan of high ceilings, calming wall colors, houses with places for you to sunbathe nude... Let me know what really makes or break a house for you in the comments below!


DIY Abstract Geometric Triangle Composition Notebook

This post includes links to Amazon.com to help you buy the materials you'll need if you decide to make this awesome DIY Geometric Triangle notebook, if you want to learn more about these links please read my privacy policy here.

I'm back in school, which means that I'm trying to incorporate fun and funky-ness into my everyday routine while I run around campus. Everyday is consumed with school work and blog work, already... and the semester just began. Oh boy...

To deal with all the extra stress, I'm trying to let some of my creativity flow in ways that involve school and/or the blog, so I can still be productive even when I'm being eccentric. Lately that means I've been giving myself a little bit too much time to work on DIY projects that involve school supplies, which has been so rewarding but may also be considered procrastination to some.

DIY Abstract Geometric Triangle Composition Notebook

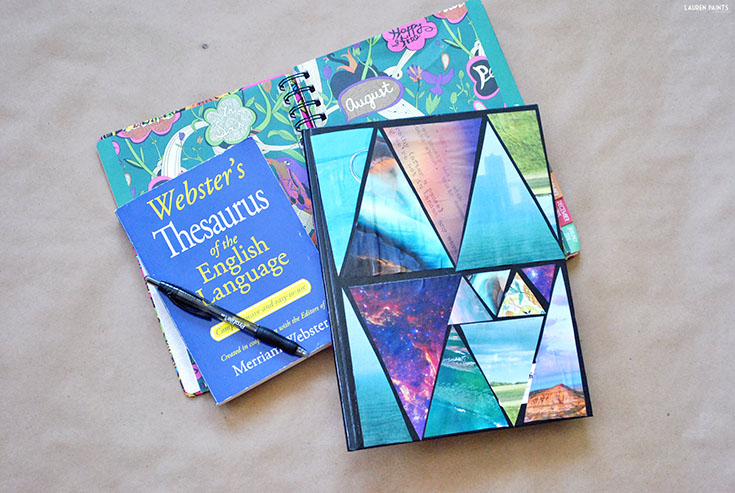
While I'm not advising you to procrastinate, I am advising you to have a little fun with your creative side and your school supplies before things get too serious this semester! Whether you're a high school freshman, a college senior, a teacher with tenure, or a parent with a few extra minutes to spare, this DIY Abstract Geometric composition notebook project is the perfect way to express yourself and make something cool and useful in the process.

DIY Abstract Geometric Triangle Composition Notebook

To make this project you'll need a handful of old magazines or photos, a composition notebook,  a pair of scissorsa paint brush,  Mod Podgea ruler, & a pen if you don't feel confident in eyeballing measurements!

DIY Abstract Geometric Triangle Composition Notebook

The first step of this awesome DIY notebook project is simple, all you need to do is find images that appeal to your eye. Find colors that are similar and patterns that flatter your eye when placed nearby each other.

DIY Abstract Geometric Triangle Composition Notebook

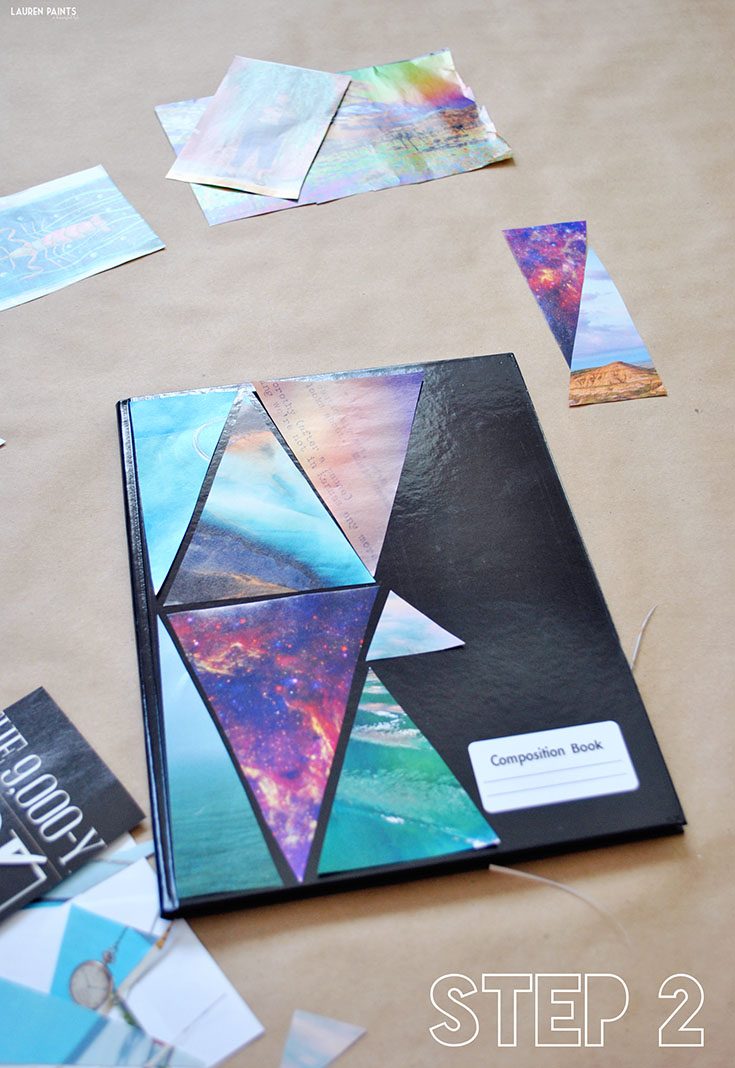
After you have several magazine pages torn out it's time to move on to the second step, you can either trace shapes onto the pages or just begin cutting and hope that your shapes are similar in size. Once you have a few shapes cut out, begin organizing them into a pretty pattern. Whether you choose to cut your shapes into long rectangles or triangles, like I did, I'm sure it'll turn out beautifully!

DIY Abstract Geometric Triangle Composition Notebook

Once you've cut out all of your shapes it's easy to complete step three, place a few small dabs of mod podge on the back of the magazine image or photo and secure each image in place. Allow that glue to dry for a few minutes and then apply a thin, yet well-coated layer of mod podge over the top of the entire notebook and the images.

DIY Abstract Geometric Triangle Composition Notebook

Let the notebook dry for 12+ hours and you and your new creation are good to go, but be prepared to mention my blog when someone asks how you made it! Now that I've shared a super fun way to personalize your composition notebook, I'd love to hear what your favorite part of the back to school season is?

DIY Abstract Geometric Triangle Composition Notebook

July 24, 2015

Share Funshine + Make DIY Designer Dog Shirt Collars

This shop has been compensated by Collective Bias, Inc. and its advertiser. All opinions are mine alone. #ShareFunshine #CollectiveBias

Share a little Funshine and make an adorable DIY designer dog shirt collar in minutes! #ShareFunshine

This summer I've been browsing thrift stores like crazy, I'm looking for new basic pieces to add to my wardrobe since I'm in a smaller size (YAY!) and I'm also looking for fun DIY projects.

Share a little Funshine and make an adorable DIY designer dog shirt collar in minutes! #ShareFunshine

I absolutely love turning something old into something new; whether it's a restored piece of furniture or a funky, inventive way to upcycle fabric, I can always come up with some crazy idea to make these thrifty finds into treasures!

Share a little Funshine and make an adorable DIY designer dog shirt collar in minutes! #ShareFunshine

So the other day when we were browsing one of my favorite places to shop second hand, we casually were walking by the children's section and I spotted some of the cutest collared shirts.We don't have any little one's (yet), but I brilliantly came up with the an idea that involved my furry children.

Share a little Funshine and make an adorable DIY designer dog shirt collar in minutes! #ShareFunshine

I wasn't going to subject them to wearing children's clothes, putting a collared button up shirt on my dog would be kind of funny but I don't think they would like that much. So I decided to spice up their current collars with a much more fun, fashionable spin on a collar.

Share a little Funshine and make an adorable DIY designer dog shirt collar in minutes! #ShareFunshine

I call my creation DIY Designer Dog Shirt Collars, my little pooches seem to love their new cotton collars and they look absolutely adorable (and a little hilarious) on them!

Share a little Funshine and make an adorable DIY designer dog shirt collar in minutes! #ShareFunshine


Right after we made these cute new collars we had some friends come over (to share our delicious snack with) and we all agreed that these look like they were made for my dogs.

Share a little Funshine and make an adorable DIY designer dog shirt collar in minutes! #ShareFunshine

Well, they were made for my dogs, but they just fit them so well it looks as though they should have always worn shirt collars instead of "dog collars". I suppose you could say my dogs and I have elevated the idea of a collar, at least until it's time to put their harnesses on to go for a walk. 

Share a little Funshine and make an adorable DIY designer dog shirt collar in minutes! #ShareFunshine

If you want to elevate your dog's sense of fashion, it's super easy to make one of these cute new collars! Follow the directions below and if you need any help, feel free to ask me via social media or email!

Share a little Funshine and make an adorable DIY designer dog shirt collar in minutes! #ShareFunshine

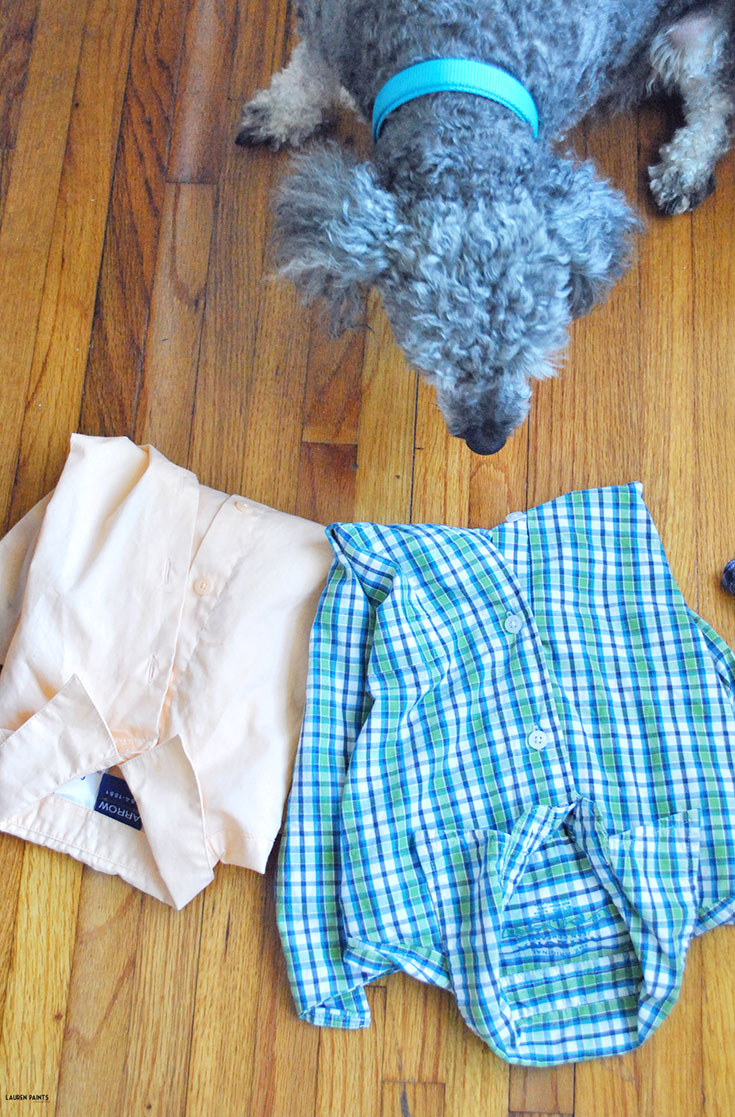
Step 1: Choose shirts that will fit your dog's neck and personality. It was easy to pick out a couple of shirts with collars for my pooches and I bought them for 50 cents a piece. I'm sure if you hit your local thrift store you'll be able to find some collared shirts that will fit your little fuzzy friends as well.

Share a little Funshine and make an adorable DIY designer dog shirt collar in minutes! #ShareFunshine

I suggest measuring your dogs neck before you go (or taking their current collar with you), so you know approximately what size shirt you should be looking for. You'll also want to look for collared shirts that have a button actually on the collar, this will actually be the clasp for your dogs collar!

Share a little Funshine and make an adorable DIY designer dog shirt collar in minutes! #ShareFunshine

Step 2: Wash all of the clothes you bought, just because a little clean laundry never hurt anyone. Plus, you are ensuring your dogs new collar is super clean and fresh! During this time, I highly suggest you all allow yourself, and your dogs, some delicious treats.

Share a little Funshine and make an adorable DIY designer dog shirt collar in minutes! #ShareFunshine

///Side note: We stopped at Walmart for a few things after we hit the thrift store and I saw a whole bunch of delicious candy and my dogs favorite treat, Pedigree Dentastix® Original.

Share a little Funshine and make an adorable DIY designer dog shirt collar in minutes! #ShareFunshine


That's when the decision was made, the rest of the day was all about crafting and treating the dogs and ourselves to all of our favorite things!

Share a little Funshine and make an adorable DIY designer dog shirt collar in minutes! #ShareFunshine

After all it's rained here almost every day in July, we all deserved a fun day and decided we would make our own "Funshine"!

Share a little Funshine and make an adorable DIY designer dog shirt collar in minutes! #ShareFunshine

I bought all my favorite candies: Starburst® Minis Unwrapped, Life Savers® Hard Candy, Skittles®, and M&M's® Peanut and we were on our way home to start crafting! Before you start crafting again, you should definitely enter to win the Share a Little Funshine Sweeps:

///

Share a little Funshine and make an adorable DIY designer dog shirt collar in minutes! #ShareFunshine

Step 3. After your the collared shirts are clean, you'll want to grab a pair of scissors and cut along the seam of the collar. Make sure to trim any remaining threads and then it's time to try your dog's new collar out for the first time.

Share a little Funshine and make an adorable DIY designer dog shirt collar in minutes! #ShareFunshine


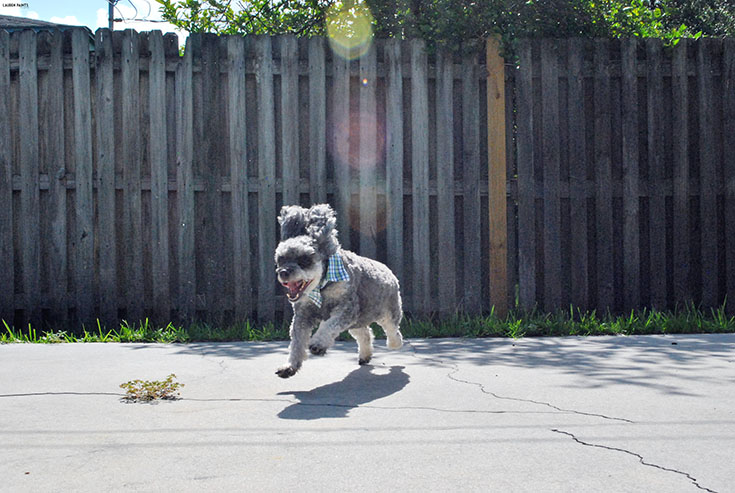
Step 4. If you are anything like me, you'll want to share your new creation with the world and if your dogs are anything like mine they won't let you take a picture easily.

Share a little Funshine and make an adorable DIY designer dog shirt collar in minutes! #ShareFunshine

I don't have the most perfectly behaved dogs in the world, it's true. They get a bit wild and are like toddlers when I try to take pictures of them, they literally can't sit still.

Share a little Funshine and make an adorable DIY designer dog shirt collar in minutes! #ShareFunshine

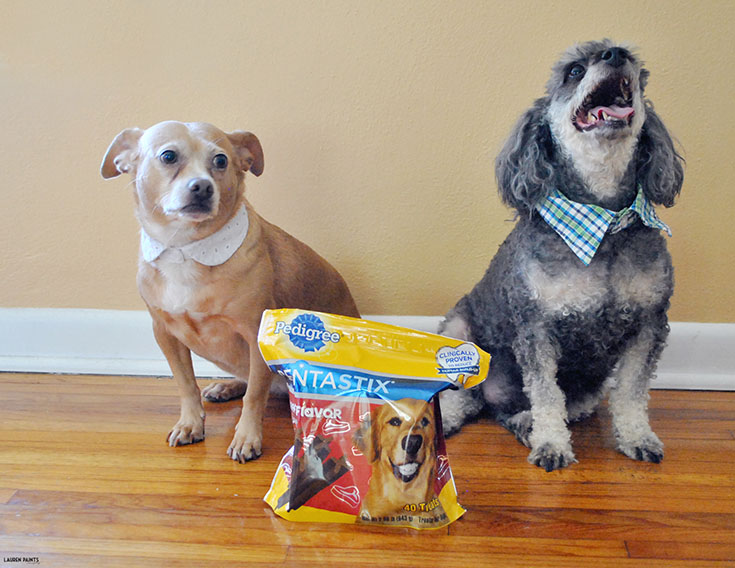
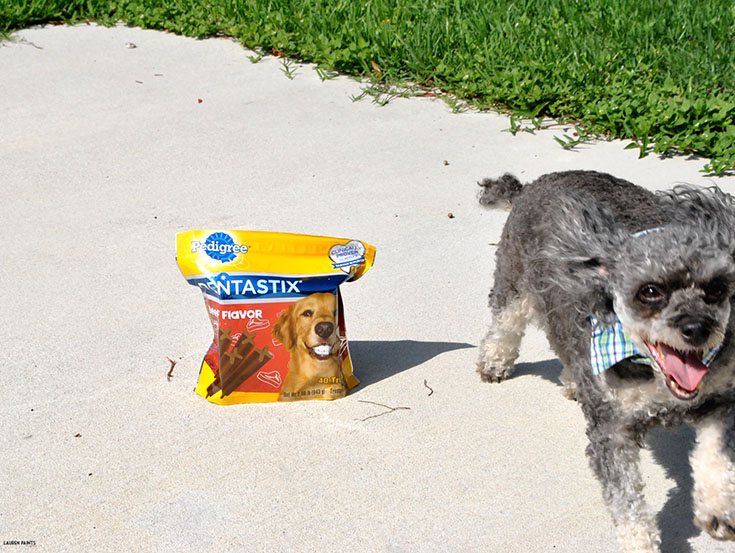
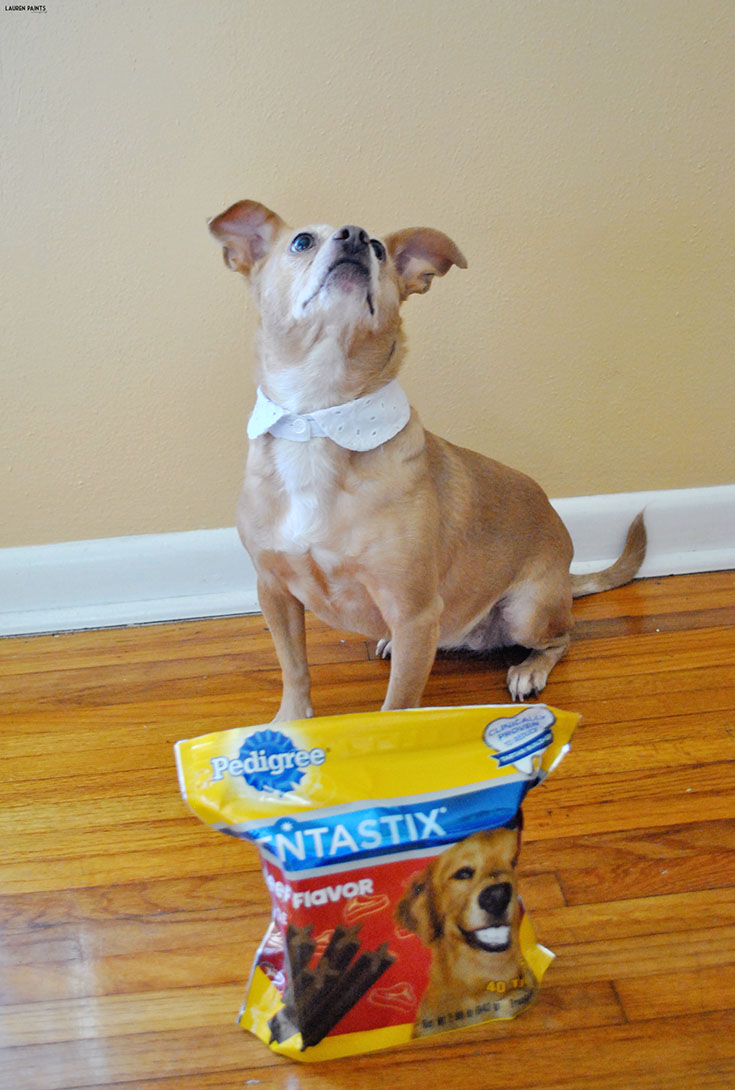
I've learned to snag photos to share, I need a little help from Pedigree Dentastix® Original and Pedigree Dentastix® Beef Flavor. All I have to do is show them that they'll get a Pedigree Dentastix® right after they pose and they are all set and ready to model!

Share a little Funshine and make an adorable DIY designer dog shirt collar in minutes! #ShareFunshine

Who knew it was so  I easy to convince "models" to pose properly?!

Share a little Funshine and make an adorable DIY designer dog shirt collar in minutes! #ShareFunshine

Share a little Funshine and make an adorable DIY designer dog shirt collar in minutes! #ShareFunshine

If you decide to make one of these adorable collars for your pooch, you must show me photo evidence! I'd love to hear how you plan on sharing "funshine" through out the summer?  I'd love to hear if you have any creative activities planned with your kids, dogs, husband this summer? Tell me all about it in the comments below! If you want to treat your dog and yourself, click here to save on M&M's®, SNICKERS® Ice Cream Bars, Dr Pepper® Cherry, Skittles®, Pedigree Dentastix®, and more!  Download the Blippar app from your Apple or Android store to scan your package and receive exclusive content.